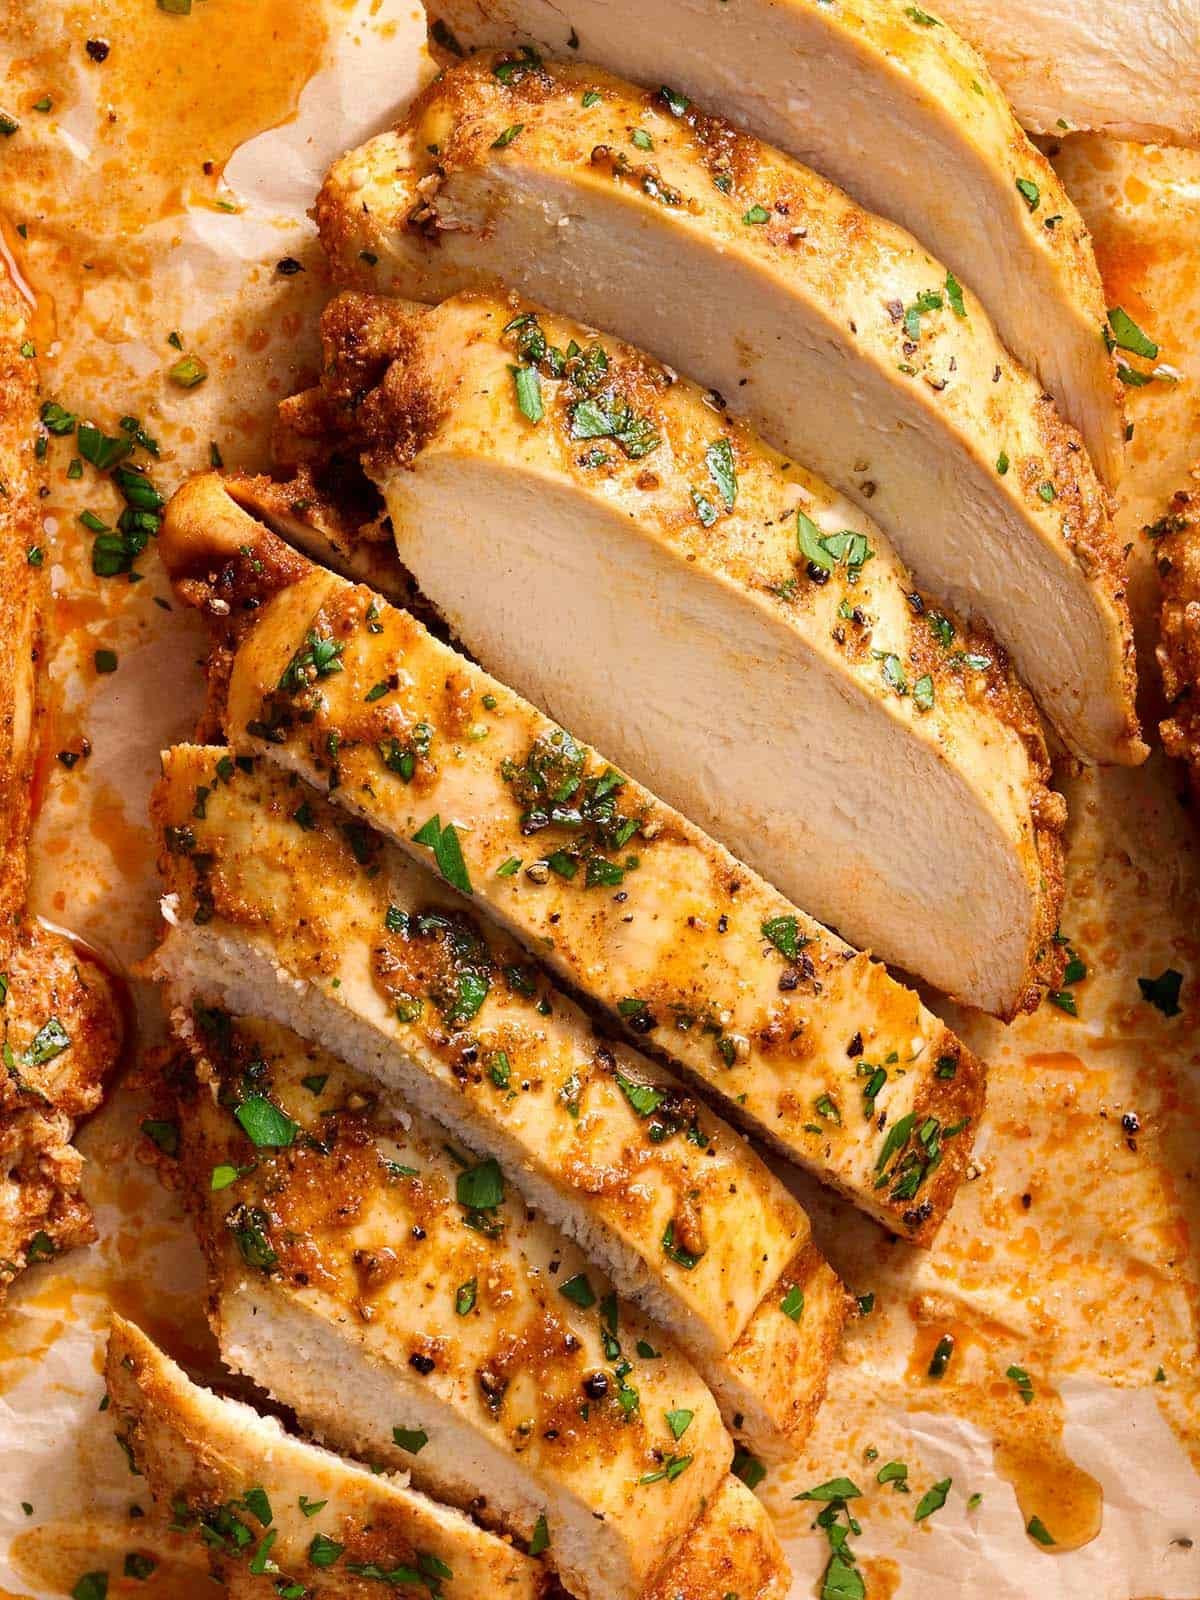
You never have to serve dry, tough chicken again. This Baked Chicken Breast recipe uses a simple brine and a hot oven to keep every bite tender and flavorful. It is the easiest way to make a satisfying family dinner that everyone actually finishes.
Why the Brine Changes Everything
Most home cooks skip the brine because it sounds like extra work, but it is the secret to keeping lean meat moist. Boneless chicken breasts are naturally lean, which means they lose moisture quickly in the oven. Without help, they turn into rubbery, flavorless pieces of meat that nobody wants. A quick soak in salted water fixes this problem completely.
I soak the chicken in lightly salted water for just thirty minutes. This short time is enough for the salt to penetrate the meat and help it hold onto its juices during cooking. It also seasons the chicken from the inside out, so you do not need to add extra salt to your spice rub later. The result is a piece of chicken that stays juicy even if you slightly overcook it.
The Science of Moisture
When you brine meat, the salt breaks down some of the muscle proteins. This allows the meat to absorb more water than it normally would. As the chicken bakes, that water stays trapped inside the fibers instead of evaporating instantly. You get a tender texture that is usually reserved for more expensive cuts of meat.
Do not skip this step if you want restaurant-quality results at home. It adds only thirty minutes to your total time, and most of that is passive waiting. You can set the water and salt in a bowl, place the chicken in, and go do the dishes or fold laundry. By the time you are ready to cook, the chicken is ready to season.
Seasoning for Flavor and Color
Once the chicken is brined, you need a rub that adds depth and creates a beautiful crust. I use a mix of smoked paprika, garlic powder, onion powder, and black pepper. These are inexpensive pantry staples that you probably already have in your cupboard. They create a savory, slightly smoky flavor that is not too spicy or overpowering.
I also add a little sugar to the rub. This is optional, but it helps encourage browning on the outside of the chicken. The sugar caramelizes in the hot oven, giving the meat a golden color and a touch of sweetness. It balances the savory spices and makes the dish look as good as it tastes. You do not need fancy ingredients for this to work.
Avoiding Bitterness
One common mistake is using too much paprika. If you pile on the spice, it can burn in the hot oven and turn bitter. Stick to a thin, even layer of the rub. You want flavor, not a charred, acrid taste. A little goes a long way, especially when the brine has already seasoned the meat inside.
Make sure the chicken is patted dry before applying the spices. If the surface is wet, the rub will slide off instead of sticking. Use paper towels to blot the surface thoroughly. This helps the spices adhere and creates a better crust. It takes only a few seconds but makes a big difference in the final appearance.
Prepping the Chicken for Even Cooking
Chicken breasts often have thick ends and thin middle sections. This uneven thickness causes the thin parts to dry out before the thick parts are cooked through. To fix this, I pound the breasts to an even thickness before baking. You do not need a meat mallet for this; a rolling pin or a heavy pan works just as well.
Place the chicken between two sheets of plastic wrap or parchment paper. Gently pound it until it is about three-quarters of an inch thick all over. This ensures that every part of the chicken cooks at the same rate. You will not have to guess when the center is done because the thickness is consistent. It is a small step that saves you from ruined dinner.
Even Thickness Matters
Skipping the pounding step is the number one reason home-baked chicken fails. The thin edges cook twice as fast as the thick centers. By the time the center reaches the safe temperature, the edges are already dry and tough. Pounding the meat takes less than two minutes per breast. It is the best investment of time you can make for this recipe.
After pounding, let the chicken rest for a minute before seasoning. This allows the fibers to relax slightly. It also gives you time to preheat your oven. You want the oven to be hot before the chicken goes in, so the outside starts browning immediately. This seals in the flavor and creates that desirable golden color.
Baking to Perfection
Preheat your oven to a high temperature to get a good sear on the outside. Place the seasoned chicken breasts on a baking sheet lined with parchment paper or foil. This makes cleanup easy and prevents sticking. You can place them on a wire rack set over the baking sheet if you want more air circulation, but it is not necessary.
Bake the chicken until it reaches an internal temperature of 165 degrees Fahrenheit. Because the breasts are evenly thick, this usually takes about twenty to twenty-five minutes. Use an instant-read thermometer to check the thickest part of the chicken. Do not rely on time alone, as ovens vary in accuracy. The moment the thermometer reads 165 degrees, pull the chicken out immediately.
Resting is Crucial
Do not cut into the chicken right away. Let it rest for five to ten minutes after removing it from the oven. This allows the juices to redistribute throughout the meat. If you cut it immediately, the juices will spill out onto the plate, leaving the meat dry. Resting keeps the moisture inside where it belongs. It is the final step that makes the difference between good and great.
Slice the chicken against the grain for the most tender bite. Serve it with your favorite sides, such as roasted vegetables, rice, or a simple salad. This Baked Chicken Breast is perfect for weeknight dinners or for meal prep over the next few days. It freezes well and reheats without losing its texture. You will wonder why you ever struggled with dry chicken before trying this method.