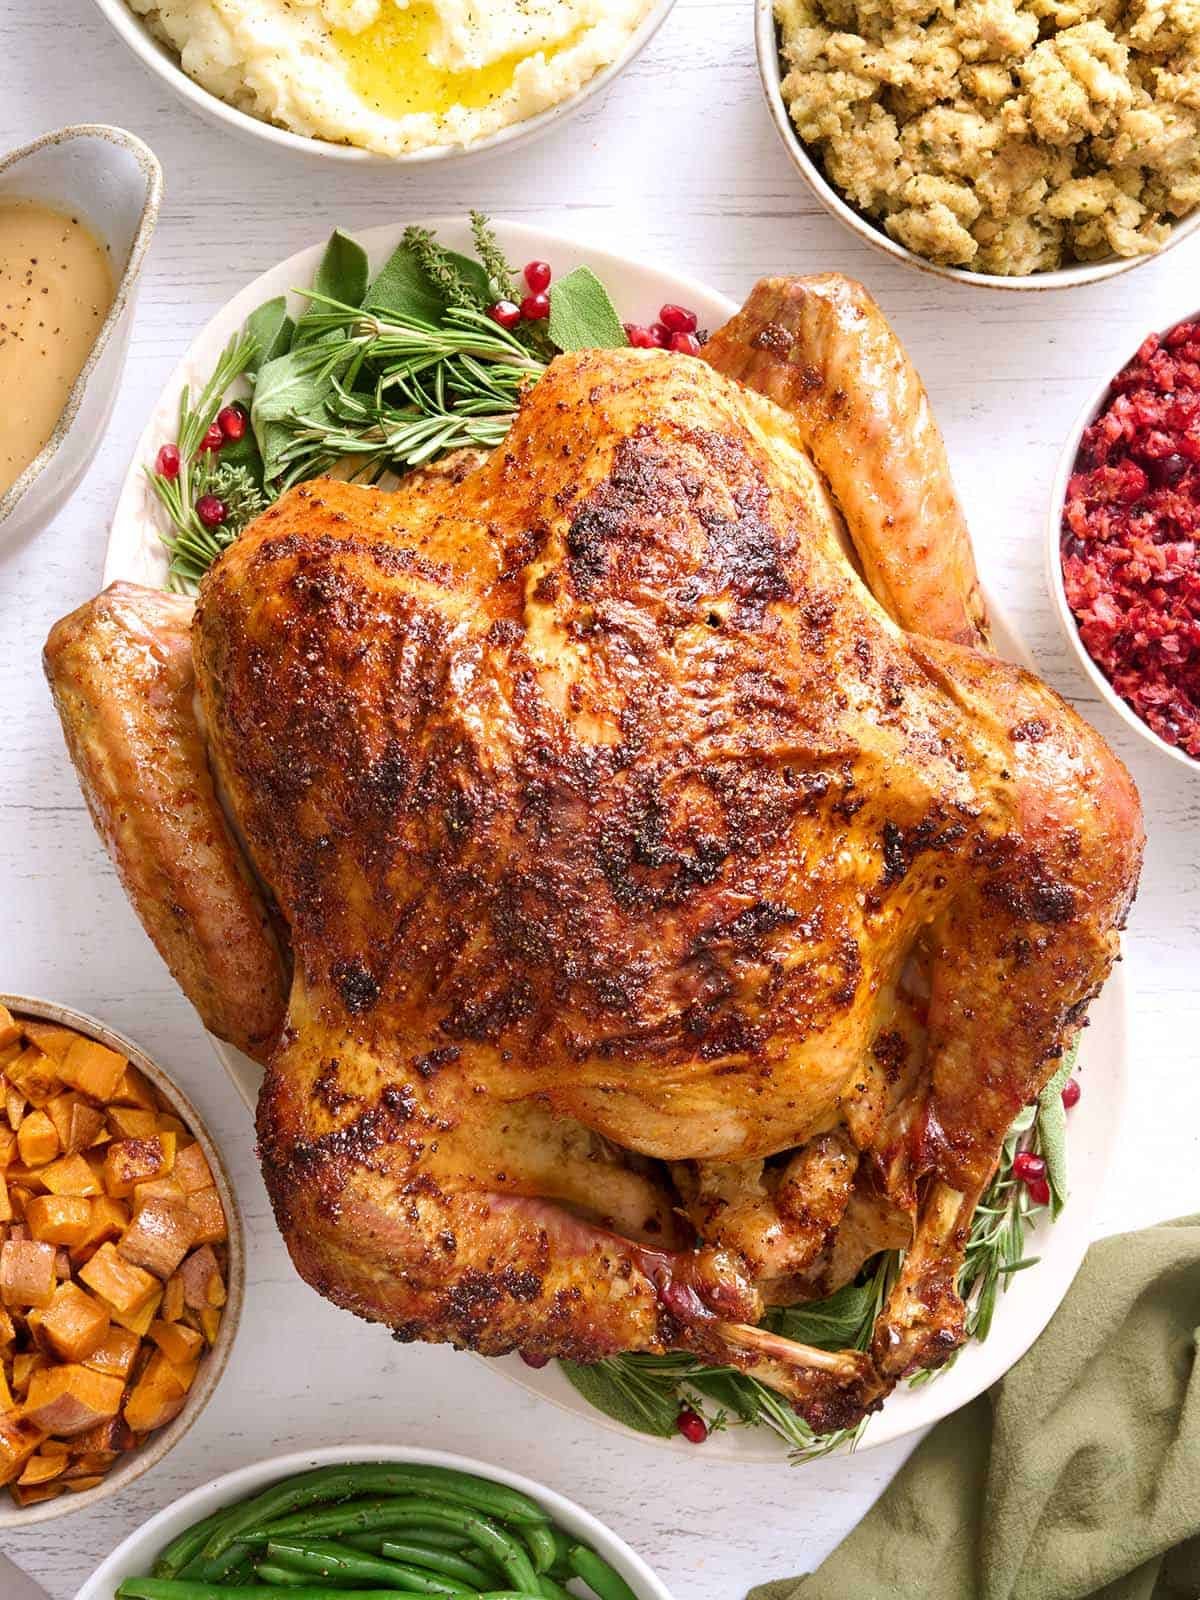
If you are looking for a reliable way to handle your Thanksgiving Turkey, you have found the right place. Roasting a whole bird can feel like a high-stakes event, but it really does not have to be intimidating. This guide walks you through the entire process, from safely thawing the bird to carving the final slices. You will get juicy, flavorful meat and beautifully golden, crispy skin without any guesswork. I have tested this method multiple times to ensure it works for every type of eater at your table, so you can spend less time worrying and more time enjoying the holiday.
Prep and Safety: The Foundation of Success
Before you even think about seasoning, you need to handle the raw bird correctly. Safety is the first step in a successful cook. You must thaw your turkey properly in the refrigerator, not on the counter. This takes time, so plan ahead. Once thawed, pat the bird completely dry with paper towels. Moisture is the enemy of crispy skin, so drying the surface is a critical step. If you skip this, you will end up with steamed skin instead of the crisp texture everyone loves. Take your time here. A few extra minutes of prep now saves you from a soggy disappointment later.
Common Mistake: Rushing the Thaw
Many home cooks try to speed up the process by thawing the bird at room temperature. This is dangerous and leads to uneven cooking. The outside of the turkey can start to cook while the inside is still frozen. Always use the refrigerator for a safe and even thaw. It is better to plan a day or two earlier than to take a risk with food safety. Check your turkey’s internal temperature as you go to ensure it is fully thawed before you start the roasting process.
Seasoning and the Optional Dry Brine
Now for the fun part: making it taste good. The base seasoning is simple, but the optional dry brine is where the magic happens. A dry brine involves rubbing salt into the skin and under the skin a few days before cooking. This draws out moisture and then reabsorbs it, breaking down proteins for a more tender result. It also helps the skin turn a deep, appetizing gold. If you do not have time for a full brine, a simple salt and pepper rub still works well. Just make sure you get the seasoning under the skin. This is where the flavor really penetrates the meat. Do not skip the cavity. Stuff it with aromatics like onion, celery, or garlic if you like, but do not pack it too tight.
Tip: The Herb Butter Trick
For the breast meat, try tucking a mixture of butter and herbs under the skin. This keeps the white meat moist and adds a rich, savory flavor. The butter bastes the meat as it cooks. It is a small effort that makes a huge difference in the final taste. Your guests will notice the tenderness, especially those who prefer white meat over dark meat. This technique ensures the breast does not dry out during the long roasting time.
Roasting for the Perfect Texture
When it is time to cook, preheat your oven to the recommended temperature. Place the turkey breast-side up in a roasting pan. You want the bird to sit on a rack if possible, allowing air to circulate around it. This promotes even browning. Cover the breast with foil for the first part of the cooking time. This prevents the white meat from drying out while the darker meat catches up. Remove the foil for the last hour to let the skin crisp up. The goal is a balance between tender meat and crunchy skin. Keep an eye on it, but do not open the oven door too often. Every time you open it, the temperature drops, and the cooking time extends.
Step: The Two-Zone Roast
- Start the turkey in a slightly hotter oven to set the skin.
- Reduce the heat to a lower temperature for the majority of the cook.
- Remove the foil cover in the final hour for maximum crispiness.
This method ensures the inside cooks gently while the outside gets that desirable crunch. It is a technique that separates a good turkey from a great one. Follow the timing closely, but always verify with a thermometer.
Resting, Carving, and Serving
Once the turkey is done, do not carve it immediately. This is the most important step that people often forget. You need to let the bird rest for at least twenty minutes. This allows the juices to redistribute throughout the meat. If you cut into it right away, all that flavorful juice will run out onto the cutting board. You want that moisture inside the meat. While it rests, you can strain the pan drippings to make gravy. The carcass is still hot, which helps release more flavor into the liquid. After the rest, carve the bird starting with the legs and thighs. Then move to the breast. Slice the breast against the grain for the most tender pieces. Serve it hot and watch your family enjoy the fruits of your labor.
Common Mistake: Skipping the Rest
It is tempting to dive in right away, especially when the smell is so good. But skipping the rest time results in dry, less flavorful meat. The juices need time to settle. Give it the full twenty minutes. It is worth the wait. Your guests will not know the difference in time, but they will definitely taste the difference in quality. Patience is the final ingredient in a perfect Thanksgiving Turkey.