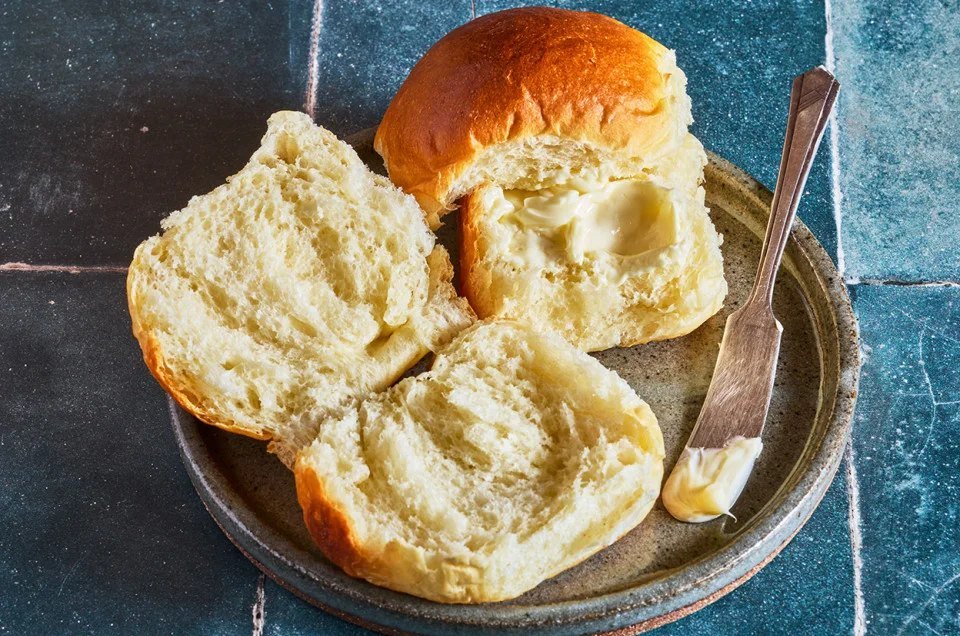
Wondering if you can make individual buns from your favorite loaf recipe? The short answer is yes. You can turn bread dough into rolls using the exact same ingredients and mixing method you already know. This technique saves you from memorizing new ratios or buying extra flour. It simply changes the final shape and baking time to get you those soft, single-serving buns we all love for sandwiches or burgers.
Why This Method Works for Any Recipe
The logic here is straightforward because rolls are just small loaves. If a recipe works for a single large loaf, the chemistry of the dough is already proven. You are not changing the hydration or the yeast amount. You are only changing how the dough is handled after the bulk fermentation. This means you can use your tried-and-true sourdough starter or your reliable commercial yeast recipe. The flavor profile remains identical to your standard bread. The only difference is the surface area to volume ratio, which affects how fast they brown.
Check Your Dough Hydration
Before you start shaping, look at how sticky your dough is. High hydration doughs, like those for ciabatta or certain sourdoughs, can be tricky to shape into tight balls. If your dough is very wet, use a wet hand or a small amount of oil to prevent sticking. You want the surface to be smooth enough to seal when you pinch the seams. If it tears, the roll will not hold its shape during the second rise.
Shaping the Dough for Uniform Rolls
Consistency is key here because uneven rolls bake at different speeds. You want them to rise together and brown at the same time. Start by dividing your dough into equal pieces. A kitchen scale is your best friend for this step. Weigh the total dough and divide by the number of rolls you want. For a standard 9×13 inch pan, eight to ten rolls work well. Aim for pieces that are roughly 3 to 4 ounces each.
Pre-shaping Matters
Take each piece of dough and gently roll it between your palms to form a loose ball. This is called pre-shaping. It creates initial surface tension that helps the final shape hold. Let these pre-shaped balls rest on a lightly oiled sheet tray for about 10 to 15 minutes. This relaxes the gluten strands. If you skip this, the dough will fight you during the final shaping. It will spring back and refuse to stay smooth.
Baking Time and Temperature Adjustments
This is the part where most home bakers get it wrong. You cannot bake rolls at the same temperature and time as a full loaf. Because they are smaller, they heat up faster. If you use the same settings, you will end up with burnt tops and raw centers. You need to lower the temperature slightly or reduce the time. A good rule of thumb is to bake at 350 degrees Fahrenheit. Keep an eye on them after 15 minutes. They are done when they sound hollow when tapped on the bottom.
Use a Water Pan for Steam
If you want a nice crust, add a pan of water to the bottom rack of your oven. This creates steam in the first 10 minutes of baking. Steam keeps the surface moist, allowing the rolls to expand fully before the crust sets. This gives you that professional bakery look with a slightly chewy exterior. Without steam, the crust sets too fast and can feel dry. It is a small step that makes a big difference in texture.
Serving and Storage Tips
Freshly baked rolls are the best, but you can make them ahead. Let them cool completely before storing them. Wrap them in plastic wrap or place them in an airtight container. They stay soft for two to three days at room temperature. For longer storage, freeze them. Wrap individual rolls tightly in plastic wrap, then put them in a freezer bag. You can take them straight from the freezer to the oven. Add 10 to 15 minutes to the baking time. No need to thaw them first.
Butter Them While Warm
The classic move is to brush the tops with melted butter right out of the oven. The heat melts the butter into the surface of the roll. This adds flavor and keeps the crust from drying out too quickly. You can also add a pinch of salt or herbs to the butter. Garlic butter is a crowd favorite. The aroma fills your kitchen and makes the rolls irresistible. This step is optional but highly recommended.
Common Mistakes to Avoid
The biggest error is over-proofing the shaped rolls. If they rise too much before baking, they will collapse in the oven. They will look flat and dense. Watch for the “poke test.” Gently press the top of a roll with your finger. If the indentation springs back slowly, it is ready. If it springs back immediately, it needs more time. If the hole stays exactly as is, it is over-proofed.
Do Not Skip the Rest
Another mistake is rushing the final rise. The dough needs time to relax and develop gas bubbles. This creates the light, airy crumb structure. If you bake them too soon, they will be tough and chewy. Set a timer and give them the full 45 to 60 minutes in a warm spot. Patience here pays off in the final texture.
Final Thoughts on Your New Rolls
Turning bread dough into rolls is one of the easiest hacks in baking. It requires no new skills, just a change in shape. You get the flavor of your favorite bread in a convenient size. Use them for burgers, sandwiches, or just with soup. Experiment with different seeds or toppings. Oats, sesame seeds, or poppy seeds all work well. The method is reliable and repeatable. Once you master this, you will never stick to just loaves again. Your family will love the variety. And you will love the simplicity. Start with your next bread batch and try making a pan of rolls. You will be surprised how easy it is. The kitchen will smell amazing. And everyone will want seconds.